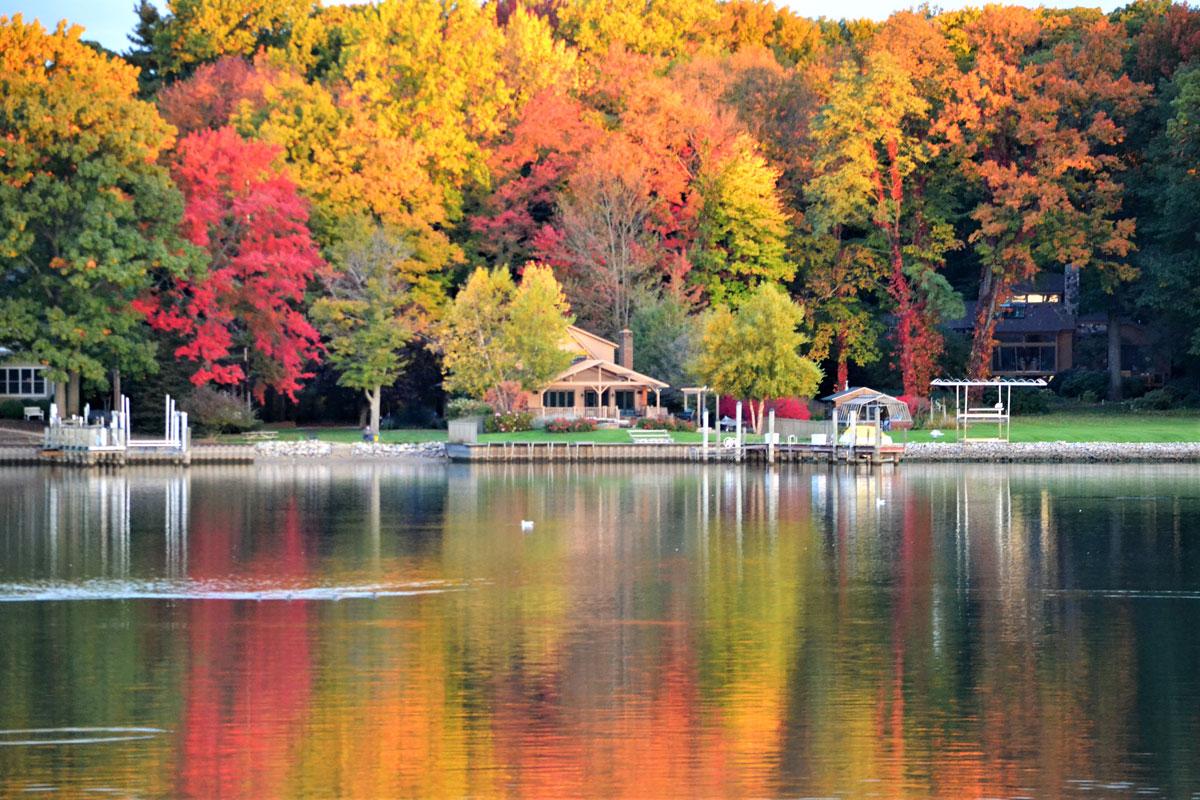
How to Close Your Lake Home for the Winter
As the leaves turn and the air grows crisp, the arrival of winter signals a crucial time for homeowners to begin preparing their houses against the cold. The process of how to close a lake home for winter is particularly important to safeguard against potential damage from freezing temperatures and harsh conditions.
A well-thought-out lake home winterizing checklist can ensure that your cherished retreat remains in top condition until the warmer months return. Whether you’re a seasoned pro or a first-time winterizer, this guide will provide you with essential lake home winterization tips to keep your property secure and cozy.
If you’re not sure where to start, or if you prefer to leave it to the experts, Comfortec Plumbing, Heating & Cooling can help you winterize your lake home.
Pre-winter inspection: What to check
Before the first snowflake settles, embarking on a thorough pre-winter inspection is a must to ensure your home is ready for the season ahead. This step is crucial for preventing costly damage and ensuring your lake home winterizing process is as smooth as possible.
1. Roof
Start by examining the roof, a critical component that can often be overlooked. Loose shingles and damaged flashing can lead to water infiltration, causing significant structural damage and potential mold issues.
Use a ladder to get a close look at the roof, or consider hiring a professional if you’re not comfortable with heights. Pay special attention to areas around chimneys and vents, where leaks are more likely to occur.
2. Windows
Next, check your windows and doors for any leaks or drafts. Cold air entering your home through gaps can increase heating costs and make your living space uncomfortable. Inspect the seals around each window and door, and replace any weatherstripping or caulking that is worn out.
A simple test to identify drafts is to light a candle and move it around the edges of the windows and doors. If the flame flickers, you’ve found a draft. Addressing these issues now will not only keep your home warmer but also more energy-efficient, a key point in any lake home winterization tips.
3. Heating System
The heating system is another critical area to inspect. Ensure that your furnace or boiler is in good working order by scheduling a professional service if you haven’t done so already. Check the filters and replace them if necessary, as clean filters can improve the efficiency of your heating system.
If you have a wood-burning stove or fireplace, make sure the flue is clear and the chimney is properly ventilated. A well-maintained heating system is essential for keeping your home warm and safe during the colder months.
4. Gutters & downspouts
Don’t forget to clean your gutters and downspouts to prevent ice dams. Ice dams can form when snow melts and refreezes at the edge of the roof, causing water to back up and potentially leak into your home.
Clear out any leaves, debris, or buildup that could obstruct water flow. This is also a good time to check for any damage to the gutters and downspouts, as repairs are easier to handle before the snow starts falling.
5. Moisture issues
Finally, test your sump pump and inspect the basement for any moisture issues. A working sump pump is crucial for preventing water damage, especially if heavy snow and ice melt can cause groundwater levels to rise.
Run a test to ensure it’s functioning properly and clear any debris from the pump pit. Inspect the basement for any signs of moisture, such as damp spots or mold, and address any issues promptly. A dry basement is essential for maintaining the structural integrity of your home and ensuring a comfortable living environment.
Drain & winterize plumbing systems
One of the most critical steps in winter preparation involves draining and winterizing your plumbing systems to prevent costly and inconvenient freeze-ups. When temperatures drop, water in your pipes can freeze, expand, and cause pipes to burst, leading to significant damage and expensive repairs.
To avoid this, start by shutting off the main water valve. This step ensures that no new water can enter the system, reducing the risk of frozen pipes and potential leaks.
Faucets, toilets & water heater
After shutting off the main water valve, it’s time to drain all the water from your faucets, toilets, and water heater. Begin by opening all indoor and outdoor faucets to allow any remaining water to drain out. For the water heater, you’ll need to turn off the power supply or gas valve, then open the pressure relief valve and the drain valve to empty the tank.
Flushing the toilets will help remove water from the bowls, but to ensure they are completely drained, you may need to use a wet-dry vacuum to extract any residual water from the tank and bowl. This thorough draining process is crucial to prevent damage from ice formation.
Garden hoses
Next, don’t forget to disconnect and store your garden hoses. Leaving them connected can allow water to back up into the pipes, increasing the risk of freezing. Once the hoses are disconnected, open the outdoor spigots to drain any remaining water.
If your lake home has a frost-proof spigot, it’s still a good idea to open it to ensure any trapped water can escape. For added protection, you can install insulating covers on the spigots to keep them from freezing.
Protecting the exterior: Windows, doors & roof
With the exterior of your home exposed to the harshest elements, it’s essential to take the time to protect your windows, doors, and roof from the winter chill. One of the first steps in this process is sealing any gaps around your windows and doors.
Seal any gaps
Cold air can seep through even the smallest openings, making your home drafty and less energy-efficient. To prevent this, use weatherstripping to seal these gaps.
Weatherstripping is an affordable and effective solution that can be easily installed by most homeowners. Not only does it keep the cold air out, but it also helps to keep the warm air in, ensuring your home remains cozy and comfortable throughout the winter months.
Inspect the roof
Next, give your roof a thorough inspection. Loose or damaged shingles can lead to water infiltration, causing significant damage to your home’s structure. Winter weather, with its heavy snow and ice, can exacerbate these issues, making it crucial to address them before the season begins. If you notice any loose or damaged shingles, consider replacing them. This might seem like a minor task, but it can save you a lot of headaches and expensive repairs down the line. For those who are not comfortable with DIY roof repairs, a lake home winterizing service can be a great investment, ensuring that your roof is in top condition to withstand the winter elements.
Install storm windows
Installing storm windows is another lake home winterization tip that can significantly enhance your home’s insulation. Storm windows provide an additional layer of protection against harsh winter conditions, reducing heat loss and keeping your home warmer.
They are particularly useful if your existing windows are older or not as energy-efficient. While storm windows can be a bit of an investment, the long-term benefits in terms of energy savings and increased comfort make them well worth the cost. If you’re on a budget, consider installing them in the most vulnerable areas of your home, such as the north-facing windows or those that are most exposed to the elements.
Contact Comfortec to winterize your lake home
With these lake home winterization tips in place, you can ensure that your lake home is both safe and ready for the winter season.
From protecting against carbon monoxide to maintaining a secure and warm environment, each step plays a crucial role in keeping your property in top condition. By following these guidelines, you can enjoy peace of mind knowing that your lake home is well-prepared for whatever the winter brings.
And remember, you can always count on Comfortec to complete your lake home winterization this season. Get in touch today for a service quote.
Share This Post
Comments
Read Our Other Blog Posts.